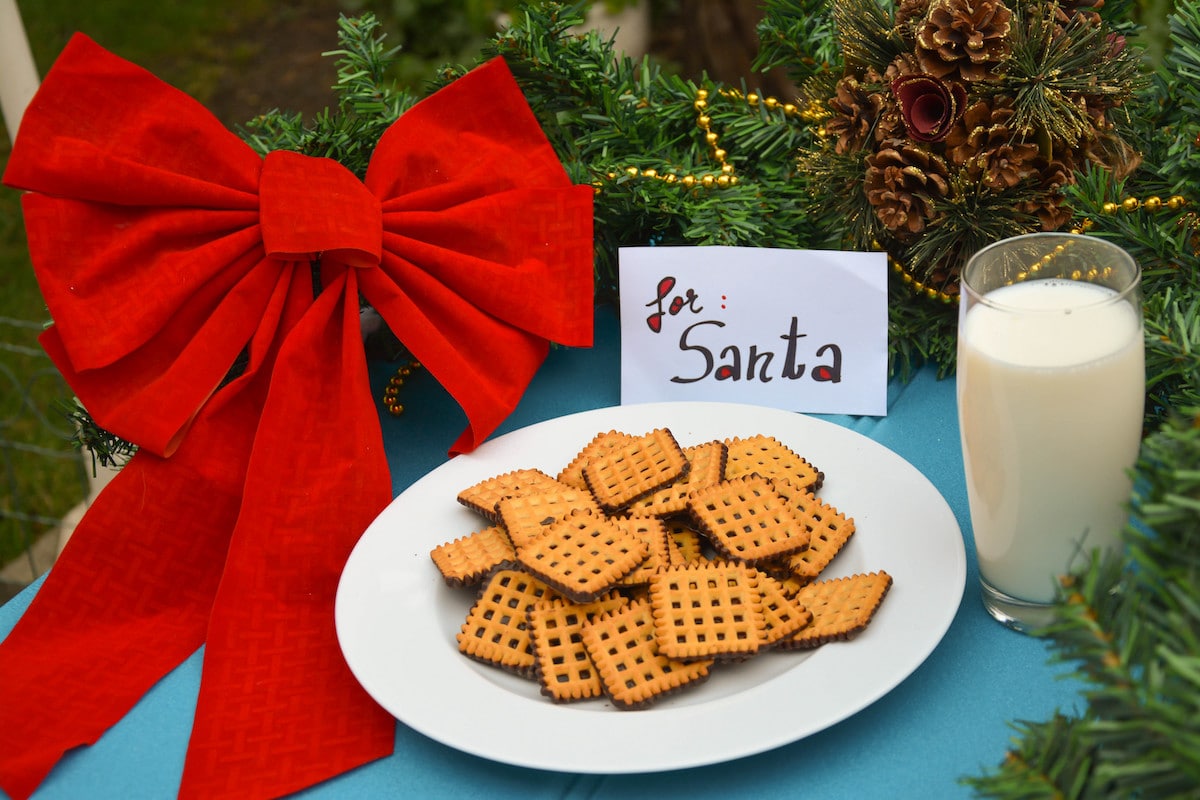
If you love crafting or creating your own holiday items, why not make your very own family Santa plate.
After hanging the stockings, you will need somewhere to leave a cookie for Santa and some carrots for the reindeer.
This year will be the first year we will put out cookies for Santa. Jake is almost two, so I think he is starting to get Christmas a little. So this is something new and fun for our family!
Once your kids get old enough to understand Christmas, this is a beautiful thing to do and enjoy on Christmas Eve.
You will see some gorgeous cookie plates in stores in the run-up to Christmas, but do you really want to spend on something you use once a year?
How to Make DIY Cookies for Santa Plate
It probably won’t even be personalized. So why not give making your own plate a try.
Step 1
First, you need a white plane plate, side, or dinner. The dollar stores or TJ Maxx will probably have some. The important thing is its oven proof.
Step 2
Second, you need some permanent markers in Christmas colors – red, green, gold, and silver. I love a Sharpie, so they are my go-to marker.
Some people don’t like to use markers to decorate plates as it’s not always clear if it’s totally safe to eat off. This shouldn’t be an issue as this is only intended for decoration.
I would not recommend this for your entire set of daily plates. If you want to decorate your main dishes, you should invest in the proper materials that are food safe.
Still, as you will put cookies on the plate, someone will most likely eat them. Give the plate a wash first. This also helps removes any manufacturing deposits that might interfere with the markers.
Next, mark your design with a pencil, as it easily washes off.
Depending on your artistry, you can go as simple or elaborate as you want. I wrote a simple message, including the kids’ names, some holly, and candy canes.
Once you are happy with the design, grab the markers and draw over the pencil lines. Don’t be scared of freestyling, but remember, less can sometimes be worth it.
It’s a nice touch to add the year on the back.
If you do mess up or smudge, don’t worry. The permanent marker will easily wash off with dish detergent at this stage.
If you have magic erasers, they work best. If you don’t and you have kids or a pet, it’s worth getting some.
Step 3
Once you’re happy with your design, bake it in the oven for 30 minutes at 350 degrees Fahrenheit. Then turn off the oven and open the door until the plate has cooled – this is why it’s essential to have an oven-proof plate.
I haven’t used the plate yet, but it’s not likely to get too dirty, so I plan to lightly hand wash it after Santa has cleared up those cookies. Certainly, don’t put it in the dishwasher.
This has been a fun and simple project and one that’s perfect for doing with kids. It does not have to be limited to Christmas either – Halloween, Thanksgiving, and Easter will also be perfect.
The plates can also make great gifts, especially if created by the kids. If that’s the case, maybe lable them as decorative only and not inteneded for use at mealtimes just in case.
More Articles From Mama Say What?!
- Your Taste of Heaven: Salted Caramel Pretzel Bark
- The Best Homemade Bubble Recipes (Part 1)
- Here’s a Great Idea for a DIY Smart Phone Holder to Use in Your Car
- How to Make Your Own DIY Mesh Water Ring Sling
Featured Image Credit: Shutterstock.
Tim Thomas is a renowned writer and entrepreneur specializing in finance, investing, and money matters. With his extensive knowledge and experience in the financial sector, Tim offers valuable insights into the world of personal finance, stock market trends, and investment strategies.


