I love our new headboard!
Even though he’s quite frugal, my husband isn’t super comfortable doing DIY. Mainly it’s because my projects always take up a lot of space in the garage.
Because hubby isn’t one of those handy DIY experts, he fave the ok to purchase a $700 headboard that had caught my eye.
It was nice, but I woundn’t say I had fallen in love with it. So, I decided make one by myself – without his help.
I choose a weekend he was away to get started and I enlisted that my parents lend a hand with baby-sitting.
Before the weekend, I bought everything I needed so I could get the work done in one day.
How to Make a DIY Nailhead Trim Headboard
What You Need:
- 4 x 8 foot piece of plywood, about 1 inch thick
- 3 yards of upholstery fabric
- 4 yards of quilt batting
- Nail head trim
- Rubber mallet
- Staple gun
- Scissors
- Wood saw
- Jigsaw cutting tool (optional)
Steps:
Cut the Plywood
We have a king-sized bed measuring 70 inches wide so the plywood pieces need to be cut to the same width.
On top of that wide, the batting and fabric add around extra inch or two so the finished headboard will extend past your mattress. If you want it to even further, just make the plywood wider.
Use a Jigsaw Tool to Shape the Headboard
You have a choice at this point and go a for the simple and easy option of a square headboard but you can also consider a more softer look by cutting the corners of the headboard.
Ok, I cheated on this part – my dad a tool just for this job and is quite handy with it so we decided to curve the top of the headboard.
Before cutting the curve, he took a piece of string and tied one end to the middle of a pencil. He then drew a half circle, imagine how a protractor would work, to ensure both side would be equal.
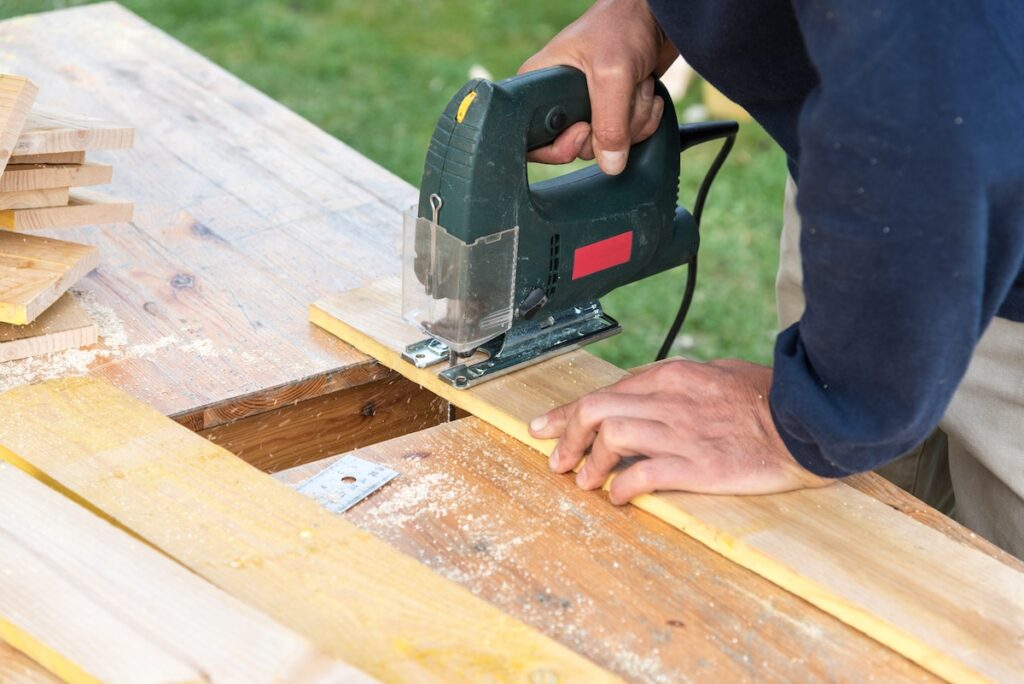
He then used the jigsaw to cut off those piece. If you don’t have a jigsaw, you can use the handsaw but you’d need use sandpaper to sure there’s a perfect curve.
Optional Step – Build Legs for the Headboard

Now, this step is optional – if you want to hang your headboard you can skip ahead.
However, my dad being handy with tools and being a bit of a perfectionist, he decided to build some legs for the headboard to stand on. This meant there wasn’t the need to nail anything in our brand new wall.
We had some 4 x 1 planks in the garage that he nailed into the back of the headboard.
This just mean that we could leave the headboard as it is or shave off the bottom of the legs if the board was too high.
Lay the Headboard Flat (Kitchen Table is Good!)
Once assembled, we put the headboard on my kitchen table and put the quilt batting I had bought across the entire headboard. out across the entire headboard.
You’ll probably need three layers of the quilt batting if you want to go for something a little thicker.
Once you’ve done that, take the staple gun and pin the batting around the whole of the headboard.
Lay the Fabric
Next is probably the most difficult part of laying the fabric.
For this you need to put the fabric down onto the table and then put the headboard upside down on top of it.
This makes the process easier but you won’t be able to see the front of the headboard to make sure there are no creases of folds in the fabric.
Once the fabric is covering the batting, cut and excess there might be but allow for around three to four inches of extra fabric all the way around the sides.
Staple the Fabric to the Headboard
Before getting started with the staple gun, you’ll need to get someone to help.
It’s super important that someone is on the other side of the headboard to pull the fabric tightly while you’re staple around the headboard. You’re doing this mainly to ensure you don’t leave any gaps in the fabric, the corners can be tricky so be warned!
If you’re doing this with the headboard upside down, you’re going to have to get on your hands and knees so it’s not comfortable but the time goes quickly when you get into it.
After we attached the fabric, we stepped back to admire our work. Looks nice – but it needs the nail head trim for sure!
This trim I got is great, as there’s a hole in every fifth (fake) nail, so you don’t have to sit there and actually nail down a million nails.
Use a rubber hammer so you don’t scuff up the nails. Just line the trim up around the outside edge and pound in every fifth hole with the nails that come with the trim.
More Articles From Mama Say What?!
- A Quick and Easy Green Beans, Potato and Chicken Recipe
- The Best Would You Rather Questions to Liven Up the Festive Holidays
- Discover the Best Way of Cutting a Watermelon (Like a Mama!)
- 61 of the Best Gender Reveal Ideas
Featured Image Credit: Shutterstock
Tim Thomas is a renowned writer and entrepreneur specializing in finance, investing, and money matters. With his extensive knowledge and experience in the financial sector, Tim offers valuable insights into the world of personal finance, stock market trends, and investment strategies.


