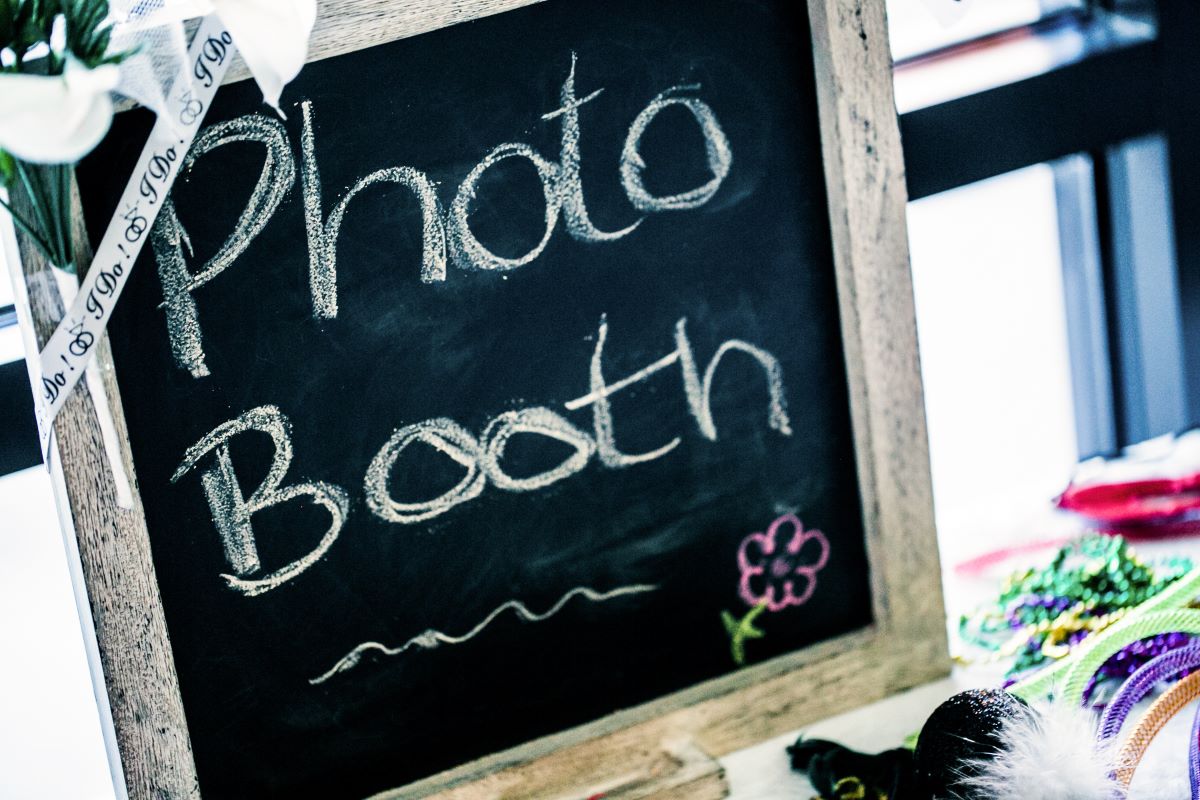
If you’ve spend any time on Pinterest, have little ones, or consider yourself even a little crafty, you might know that chalkboard signs have become all the rage.
Chalkboard signs can be used for so many things —wedding décor, decorative signs for your home or ways to display quotes.
Quite a few mamas at Mama Say What?! have made them for their kiddo’s first birthdays and I was envious of how perfect they looked.
They displayed information on the boards that included their kids’ names, height and weight stats, their favorite things, and the words they could say. They used such neat handwriting, cool fonts and bright colors!
I decided to give it a try for my in-laws 40th anniversary party this summer and was very pleasantly surprised how easy it was.
I asked some mama friends for advice and did some research online. I was incredibly nervous to get started, thinking that I might have bitten off more than I could chew, but working with the chalkboard markers was very forgiving and I found some really easy ways to use computer fonts to help me with the words as well as to write free-hand.
Materials
- A flat surface for the board, such as a piece of wood, an old mirror or a canvas (you could recycle an old mirror, buy a canvas from a craft store, or pick up a piece of wood from Lowes or Home Depot).
- A can of spray chalkboard paint (you could also use a regular can and a brush — these materials can also be found at Walmart).
- Chalk (from my husband’s classroom).
- Chalkboard markers (I bought mine from Jo-Ann’s, but these can also be found on Amazon).
- Tape
- Pencils
Here’s How I Made My Sign:
- I started with a canvas board that I bought from Michaels. I sprayed it with two coats of chalkboard paint (which you can find at any craft store, Walmart or a home improvement store). Let the chalkboard paint dry between each coat (I waited several hours between coats and then let the final coat dry for a day or so. I was in no hurry!)
- Season” your board with chalk. This means rubbing chalk all over the surface and then wiping it off. This will hide any mistakes you make along the way (and you will make them!). If you make mistakes on a clean board, you’ll still be able to see them when you wipe them off. By seasoning the board with chalk first, it makes any mistakes more or less undetectable.
- Start writing on your board! I sketched out several designs before I began to make sure I had room for everything I wanted to put and also to see if certain fonts and words would look good next to each other. Chalkboard markers are sold in many colors as well — no need to stick with just white.
(At this point, I realized that writing on canvas was not going to be ideal for me. My board was large and I had a lot that I wanted to put on it!
The canvas board was slightly bumpy and it took me a lot of time and a lot of writing over words several times to make the marker strokes look clear and full.
So at this point, I sanded down an old piece of wood I found, covered that with chalkboard paint and started over.)
If you’re a perfectionist like me, you’re going to want some or all of your board to look professional and you might not trust your free hand. If this is the case, it’s very easy to transfer a font from your computer onto your chalkboard. Read on…
- Print out on your computer whatever words you’d like to transfer in the correct font and size.
- Cover the BACK of this computer paper with white chalk. Be generous with the chalk! It’s not going to really show up well on the board.
- Tape the paper down on the chalkboard where you want the words to be and trace the printed words with a pencil. Push down with a good amount of pressure. The force of the pencil will transfer some of the chalk on the back side onto the chalkboard.
- Remove the paper and there will be a light outline left behind on the board.
- Use chalkboard markers to trace over the outline.
- Voila! Much better than I could do free-hand — at least in the beginning while I was still getting the hang of it.
If you make a mistake, use a wet washcloth or even a Q-tip dipped in water and carefully erase your mistake. Let it dry and try again.
Continue until your board looks just as you want it to. As I worked on the board, I gained some confidence and did some of it free-hand.
I also used the transfer method as explained above by writing a quote on a piece of paper, then coloring the back with chalk and transferring that onto the board.
Some other mamas were kind enough to share pictures of their chalkboard signs as well. Take a look and maybe it will be inspiration for your next project.
If anyone is on the fence about making once, I strongly urge you to give it a try! As I mentioned above, it was easy and a lot of fun once I got started and realized how forgiving it was and how quickly you could fix mistakes.
More Articles From Mama Say What?!
- Your Taste of Heaven: Salted Caramel Pretzel Bark
- The Best Homemade Bubble Recipes (Part 1)
- The Best Would You Rather Questions to Liven Up Your Next Party
- Here’s a Great Idea for a DIY Smart Phone Holder to Use in Your Car
Featured image credit: Shutterstock
Tim Thomas is a renowned writer and entrepreneur specializing in finance, investing, and money matters. With his extensive knowledge and experience in the financial sector, Tim offers valuable insights into the world of personal finance, stock market trends, and investment strategies.


