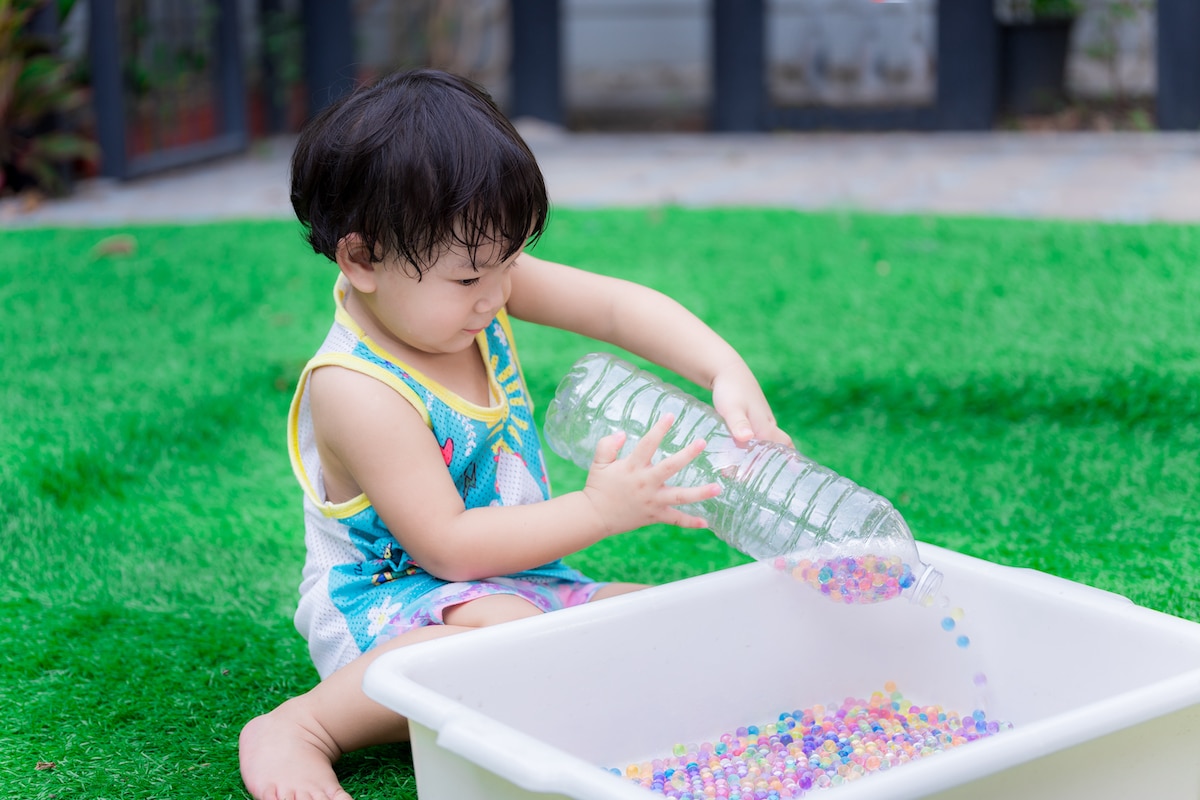
If you are a mom, you know you are always looking for ways to help your little ones. When you chat with other moms or check the internet, you want to find cool crafts for your kids. You have probably seen something like a sensory bottle.
These are great for kids because, like all sensory play, sensory bottles help children to use their senses to explore and discover new things. Not only that, but a sensory bottle is a calm-down tool that can reduce their overwhelming emotional experience. You can easily make one for your kids without the crazy flashy lights and sounds.
When you search online, you can find a variety of sensory bottles. Some were made exquisitely! It is time for another DIY project that will make you proud.
Let’s get started!
Materials:
- Water bottles
- Liquids and other materials to fill the bottles (you can use your imagination since there is no limits)
Before starting, you want to get an empty water bottle, meaning you should drink it all and let it dry overnight. You also need to peel the labels off so you can easily see what will be inside.
With an empty bottle, you can put in whatever materials you think might be stimulating for your little one’s eyes and ears. Look in your house to find some fun craft supplies. You might find things in your study room, kitchen, or living room. You can also head to the dollar store to buy a few things at a cheap price i f you don’t have anything at home.
Here are some ideas you can do for your sensory bottles:
1. Water and seashells
2. Water, super glue, and water beads
3. Water with crayon shavings
4. Water with glitter, beads, and ribbons
5. Rice with pom poms and other small toys, and craft pieces
6. Water, glue, and glitter
7. Clear glue, water, glow sticks, food color, glitter, glowing stars, beads
8. Water, butterflies, and flowers
9. Water, mini ocean animals, and sand
10. Water, confetti, glitter, sequins, and autumn leaves
11. Water, plastic snowflakes, and glitter glue
12. Water and rainbow loom bands
Whenever you are making your sensory bottle, make sure you are closing the lid real tight so that nothing spills.
If you want to improve your sensory bottle, you can get a Voss bottle. They are more smooth and easy to see through. However, the tops can break very easily when dropped. You want to test everything first before giving them to your children. You don’t want an oopsy happening in your home. Better yet, you can hot glue the top or use duct tape to seal it.
You can test out with both the water bottles and Voss bottles to see which one you like better. Both work the same, so it’s based on your preference.
Before heading to the dollar store, make sure you look for things in your home first. You can also do a test run with some of the things you have at home and see if your kids love to have their sensory bottles.
DIYing a sensory bottle is a rewarding crafting experience. If you are a mom, you know how a mom always wants to help their kids to grow and develop. This sensory bottle is a great start to help your kids to explore their 5 senses.
You will also get your creative juice going when working on this fun little project for your babies.
Happy crafting, mamas! This is a fun and easy one for anyone to make. Enjoy!
Featured Image Credit: Shutterstock
Tim Thomas is a renowned writer and entrepreneur specializing in finance, investing, and money matters. With his extensive knowledge and experience in the financial sector, Tim offers valuable insights into the world of personal finance, stock market trends, and investment strategies.


