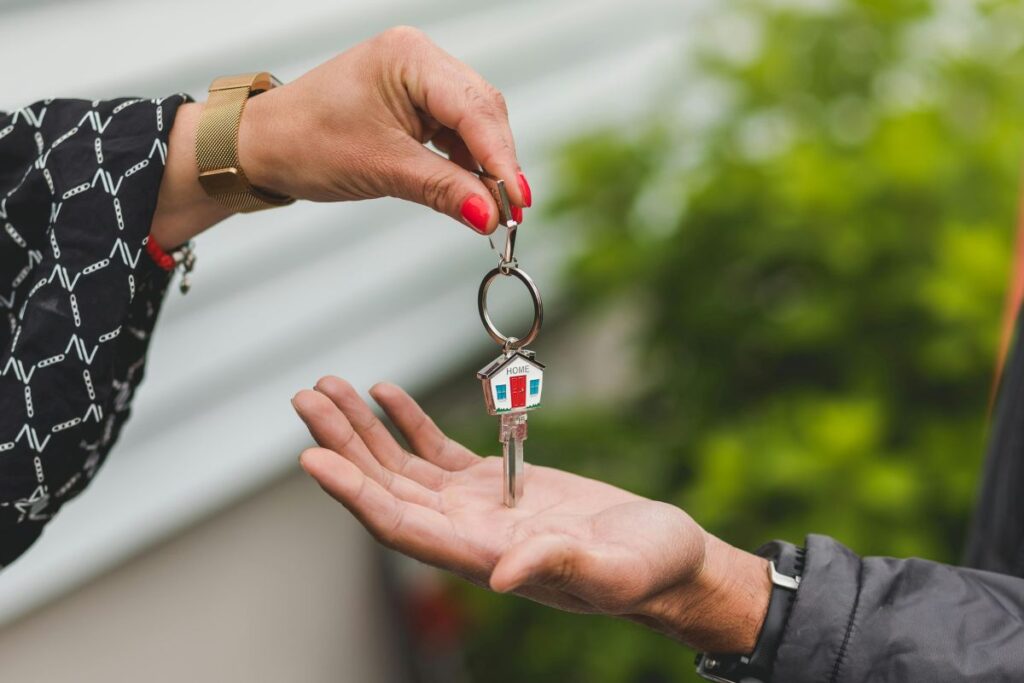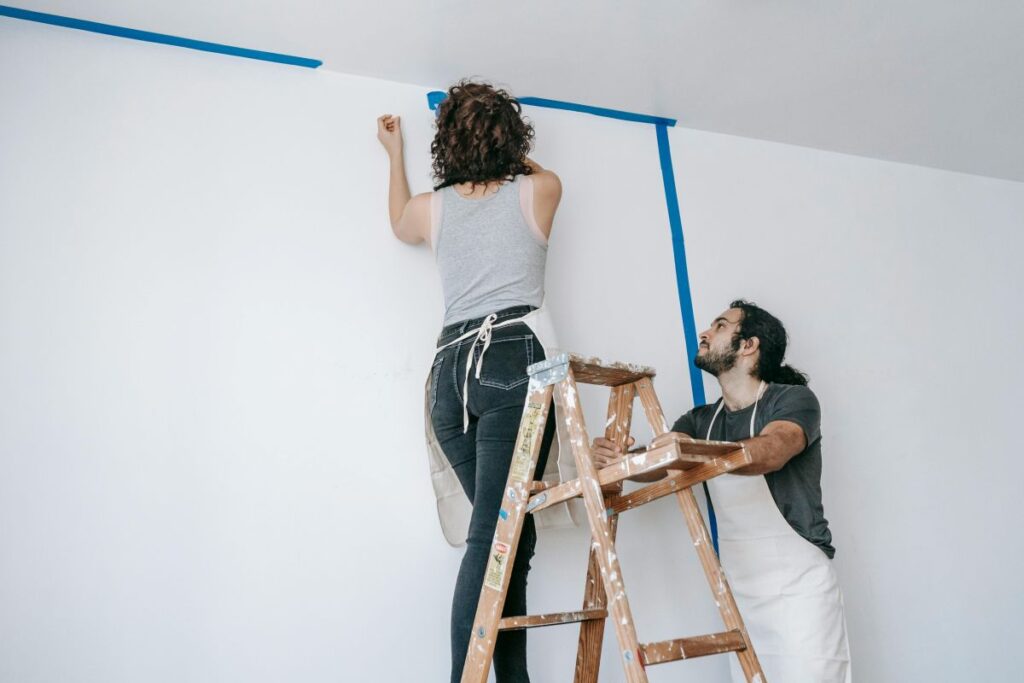
Key Renovations That Add Value Before Selling Your Home
About Us
Mama Say What?! is your ultimate lifestyle hub, dedicated to enriching every facet of your journey. From nurturing family bonds to fostering a happy home, from embracing a healthy lifestyle to achieving success in every endeavor, we’re here to empower and inspire you.
At Mama Say What?!, we’re dedicated to providing valuable insights, actionable tips, and uplifting stories that resonate with you. Whether you’re navigating the joys and challenges of family life, prioritizing self-development and personal growth, or seeking financial empowerment and success, we’ve got you covered.
Join us as we explore the endless possibilities of modern living and celebrate the richness of life in all its forms. With Mama Say What?! by your side, every day becomes a new adventure filled with inspiration, discovery, and joy.


